
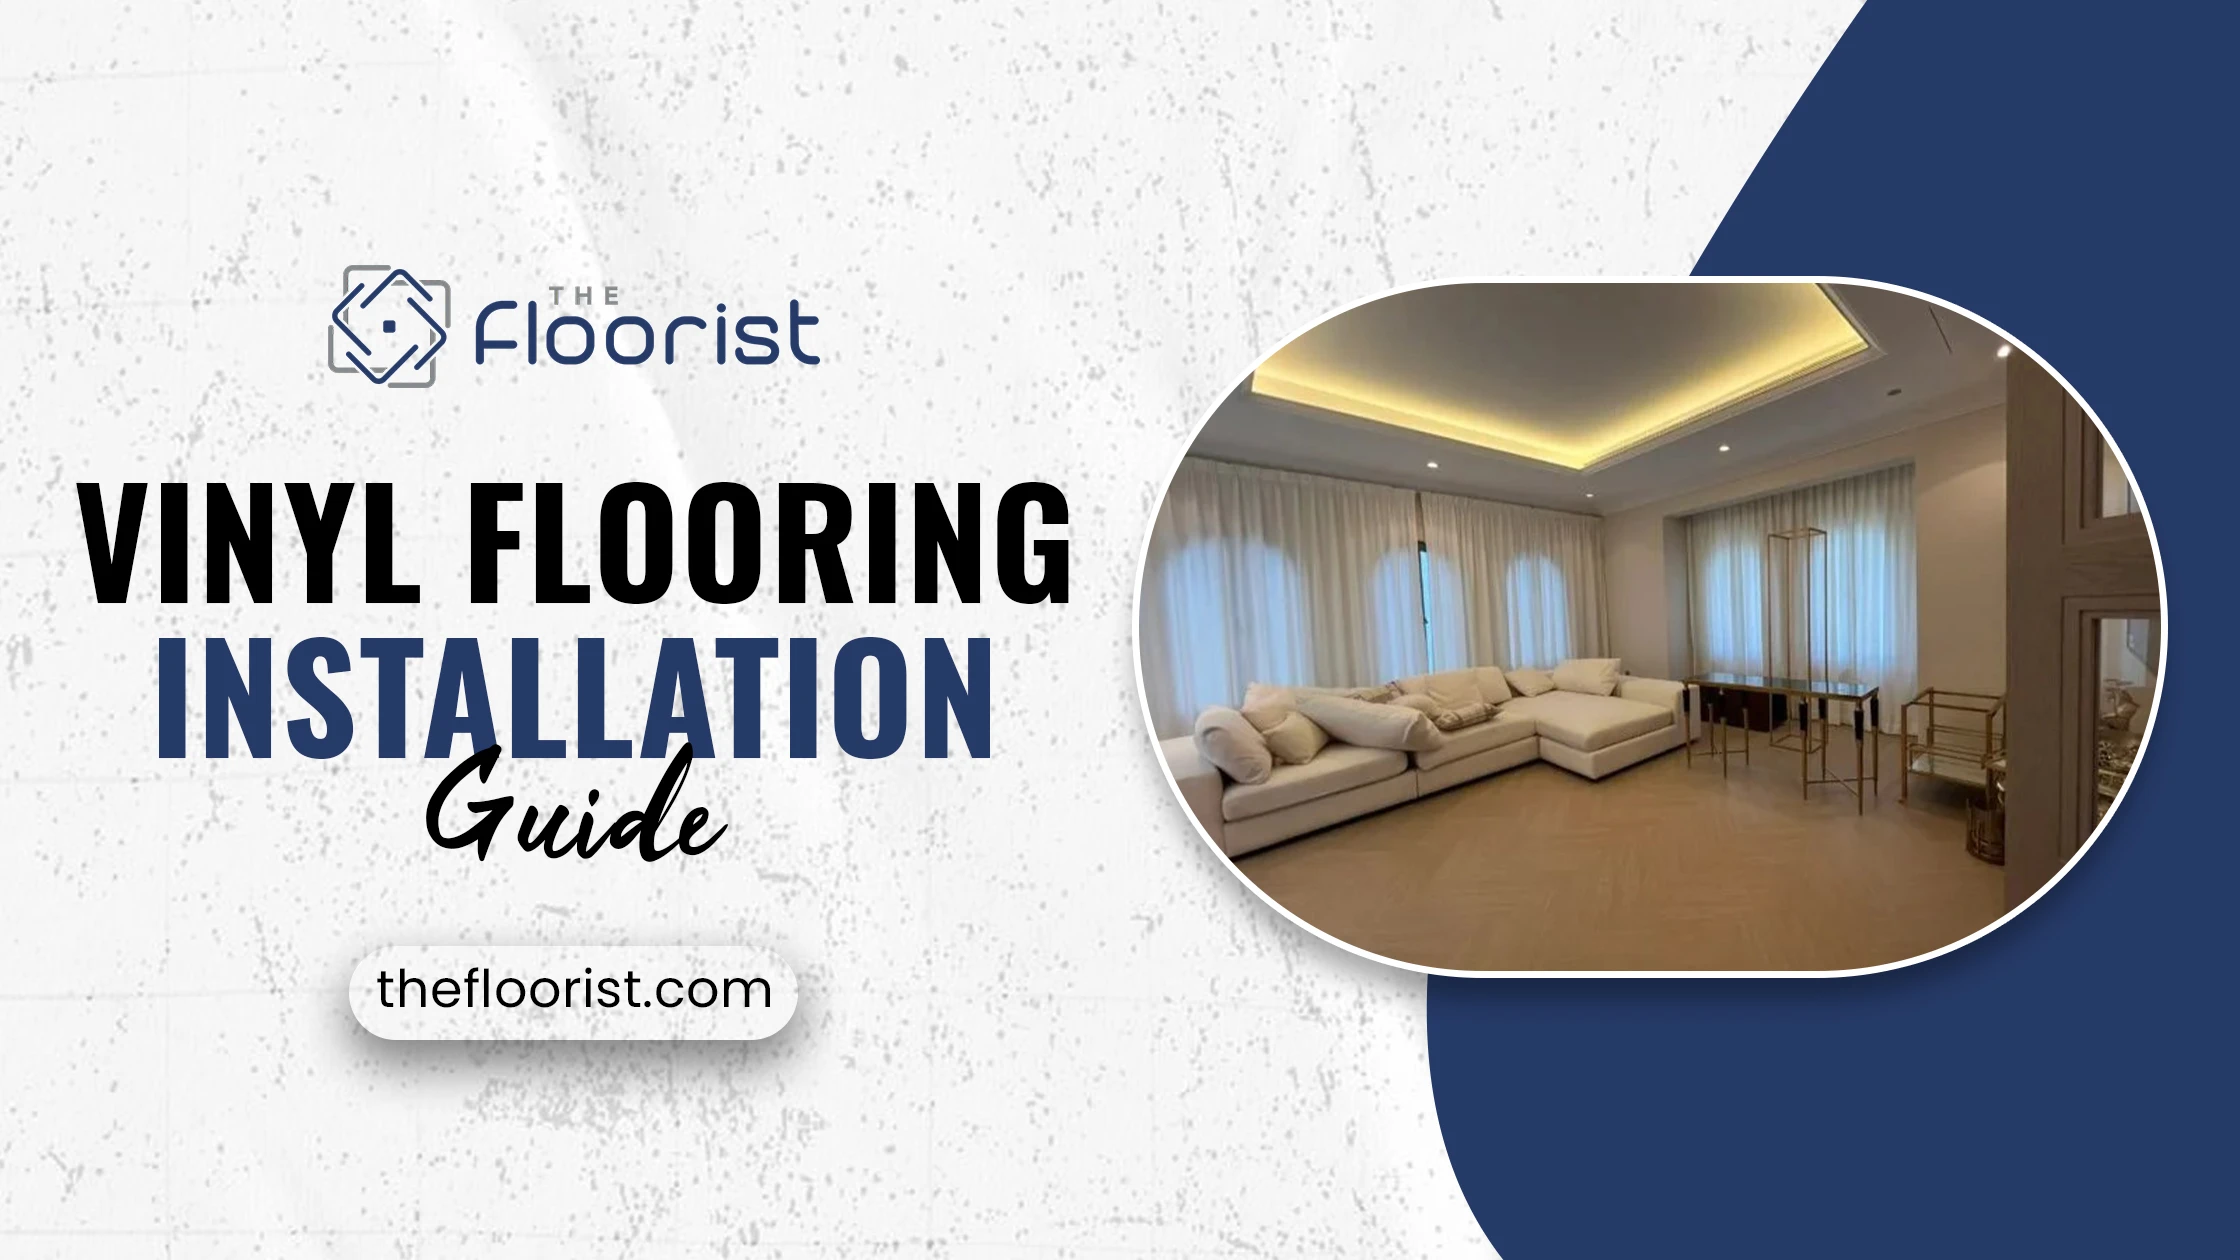
The Beginner’s Guide to Vinyl Flooring Installation
If you want to change your floors but don’t know where to start, you’re not alone. Starting a flooring project can feel overwhelming, especially if it’s your first time. But it is not complicated. This guide here is to help you find steps step by step. One of the best and easiest options to consider is vinyl flooring. It feels great, lasts longer, and it is easy to install, surprisingly. In addition, it does not spend a lot. Whether you are fixing your living room, hallway, or kitchen, vinyl works well in any place. In the UAE, many people choose it because it handles heat and moisture better than most other materials. So if you’re ready to take the plunge, let’s walk through everything you need to know to get started, without the stress.
Why Choose Vinyl Flooring?
Vinyl flooring is a bit of a superstar. It’s strong enough to handle daily life, looks posh, and keeps costs low. It can mimic fancy wood or stone without the price tag. In the UAE’s humid bathrooms or busy kitchens, its waterproof nature is a lifesaver. Plus, it stays cool under the scorching sun, which is perfect for local homes. Cleaning? A simple wipe is all it takes to make it look brand new again.
It’s also super flexible. Fancy a modern, sleek look? Or maybe a cosy, rustic vibe? Vinyl flooring delivers. The Floorist has some cracking options that last ages. It shrugs off scratches and holds up in hectic spaces like villas or offices. It’s a solid pick for any spot needing a glow-up.
Tools and Materials Needed
Before diving in, grab the essentials. Having the right kit makes the job a doddle. Here’s what to gather:
- Vinyl flooring tiles or planks: Pick a style that suits the room’s mood.
- Utility knife: For slicing tiles to fit just right.
- Measuring tape: To nail the room’s dimensions.
- Straightedge or ruler: Keeps cuts neat.
- Adhesive (if needed): Some vinyl flooring needs glue to stick.
- Roller: To squash tiles down properly.
- Level: Checks if the floor’s flat as a pancake.
- Cleaning gear: For sprucing up the subfloor.
- Pencil and chalk line: To mark where the tiles go.
- Safety stuff: Gloves and knee pads for comfort.
Having this lot ready avoids mid-job panic. Work out how much vinyl flooring is needed by measuring the room. Add an extra 10% for slip-ups. That way, there’s no mad dash to the shop halfway through.
Preparing the Space

Good prep is half the battle. A clean, flat floor makes vinyl flooring stick like a dream. Clear out the room first—furniture, rugs, the lot. Then, give the subfloor a good once-over. It needs to be smooth and even. Bumps or dips can cause grief later.
For concrete floors, patch cracks with filler. Got a wooden subfloor? Sand down any lumps. Sweep or hoover up dust and bits. Even specks can mess with the stick. Also, keep an eye out for dampness. Vinyl flooring laughs off water, but a soggy subfloor spells trouble. A moisture meter can settle any doubts.
In the UAE’s sticky climate, air flow is key. Crack open windows to keep things fresh. Let the vinyl tiles chill in the room for a day before starting. This helps them settle into the heat, so they don’t warp later.
Measuring and Planning the Layout
Measuring right makes the floor look ace. Grab a tape measure and check the room’s length and width. Multiply to get the total area. A 4m by 5m room needs 20 square metres of vinyl flooring. Easy peasy, but it’s a big deal for the final look.
Next, map out the layout. Start from the room’s middle to keep things balanced. Snap a chalk line for a straight guide. Lay a few tiles without glue to test the vibe. If edges look wonky, tweak the plan—tiny bits near walls can lift or look rubbish. Corners or pipes need extra thought. Measure carefully and mark with a pencil to avoid wasting tiles.
Also, think about the room’s flow. Line up tiles to catch the eye, maybe toward a window or door. A bit of planning makes the floor pop.
Cutting Vinyl Tiles
Cutting vinyl flooring is no biggie with the right know-how. Use a sharp utility knife and a straightedge. Measure where the tile needs to fit. Mark it with a pencil. Lay it on a flat surface, then score along the line with steady hands.
Once scored, bend the tile gently—it’ll snap cleanly. For fiddly bits, like around pipes, make a paper template first. Trace it onto the tile and cut carefully. Pop on gloves to stay safe. Keep spare tiles handy for any whoopsies.
Neat cuts are everything. Uneven edges stand out and spoil the look. Measure twice before cutting to save tiles and stress.
Installing Vinyl Flooring
Now for the fun bit—laying the floor. There are two ways to do it: glue-down or loose-lay. Glue-down keeps tiles locked in for busy spots. Loose-lay is quicker, perfect for rentals or speedy jobs. Pick what works for the room.
Glue-Down Installation
Kick off in the room’s centre, using the chalk line as a guide. Spread adhesive with a trowel in small patches. Lay the first tile, lining it up dead straight. Press it down hard. Keep going, working outward. Roll over tiles to make them stick tight.
Check each tile’s position. Gaps or overlaps look naff. If using luxury vinyl tile (LVT), line up patterns for a smooth look. Stagger seams like bricks for a natural feel. For edges, cut tiles to fit snugly, then glue and press them down.
Loose-Lay Installation
Loose-lay vinyl flooring is dead easy. No glue, just tight fits. Start in the middle again. Lay tiles close together, using the click-and-tag system to lock them in. It’s fast, simple, and great for UAE DIY fans.
For both methods, work in small chunks. It keeps things doable. Watch for bubbles or loose tiles. Roll them down firmly. If one pops up, add glue or nudge it back into place.
Finishing Touches
With tiles down, add the final flair. Pop on baseboards or trim to hide edges for a slick look. Use transition strips at doorways to blend vinyl flooring with other surfaces. In bathrooms or kitchens, seal edges to stop water sneaking underneath.
Clean the floor with a damp mop. Skip harsh cleaners—they can scuff the surface. Vinyl flooring is a doddle to care for, but a quick sweep or mop keeps it gleaming. Regular TLC makes it last.
Common Mistakes to Avoid
First-timers sometimes mess up, but these traps are easy to skip:
- Skimping on subfloor prep: A lumpy or dirty floor leads to tiles popping up.
- Rushing measurements: dodgy cuts mean gaps or wasted tiles.
- Forgetting to acclimate: Tiles that don’t adjust to the room’s heat might buckle.
- Slapping on too much glue: Excess adhesive makes a mess and bumpy spots.
- Wonky tile lines: Crooked rows are a pain to fix once stuck.
Take it slow and check each step. A bit of care now saves big headaches later. If in doubt, ask a pro for a pointer.
Benefits of Vinyl Flooring in the UAE
Vinyl flooring is a cracking choice for UAE homes. It stands up to heat and humidity like a champ. It’s waterproof, so it’s perfect for coastal flats or villas. Compared to pricey wood or stone, it’s a bargain but looks just as lush. LVT flooring nails the natural look without burning a hole in the pocket.
It’s also comfy to walk on—quieter and softer than hard floors. Plus, it’s kind to the planet, often made with recycled bits and low-VOC glues. That’s a win for eco-conscious UAE folks. It fights off mould, too, keeping homes fresh in humid weather.
Maintenance Tips for Longevity
Vinyl flooring is easy to keep spick and span. Sweep daily to clear dust. Mop weekly with a gentle cleaner. Avoid scrubby brushes—they can leave marks. Place mats at doors to catch dirt early. Furniture pads stop dents from heavy stuff.
Spills happen, so wipe them up quickly. Vinyl flooring handles water fine, but standing liquid can sneak into seams. In the UAE’s climate, keep air moving to dodge moisture buildup. Simple habits keep the floor looking fab for years.
Conclusion
Vinyl flooring is a smart, stylish choice that fits almost any room. It’s affordable, easy to install, and holds up well over time—even in the UAE’s warm and humid climate. Whether you’re doing a quick upgrade or planning a full renovation, vinyl makes the process smoother and the result more rewarding. And if you want that perfect finish without the stress, it’s worth turning to someone you can trust. The Floorist offers a wide range of designs, expert advice, and top-quality vinyl options to match your vision. Ready to get started? Reach out to The Floorist and bring your flooring ideas to life today.
Related Blog's

Luxury That Lasts: Why Premium Parquet Flooring Is the Future of Modern Home Design
November 20, 2025
No Comments
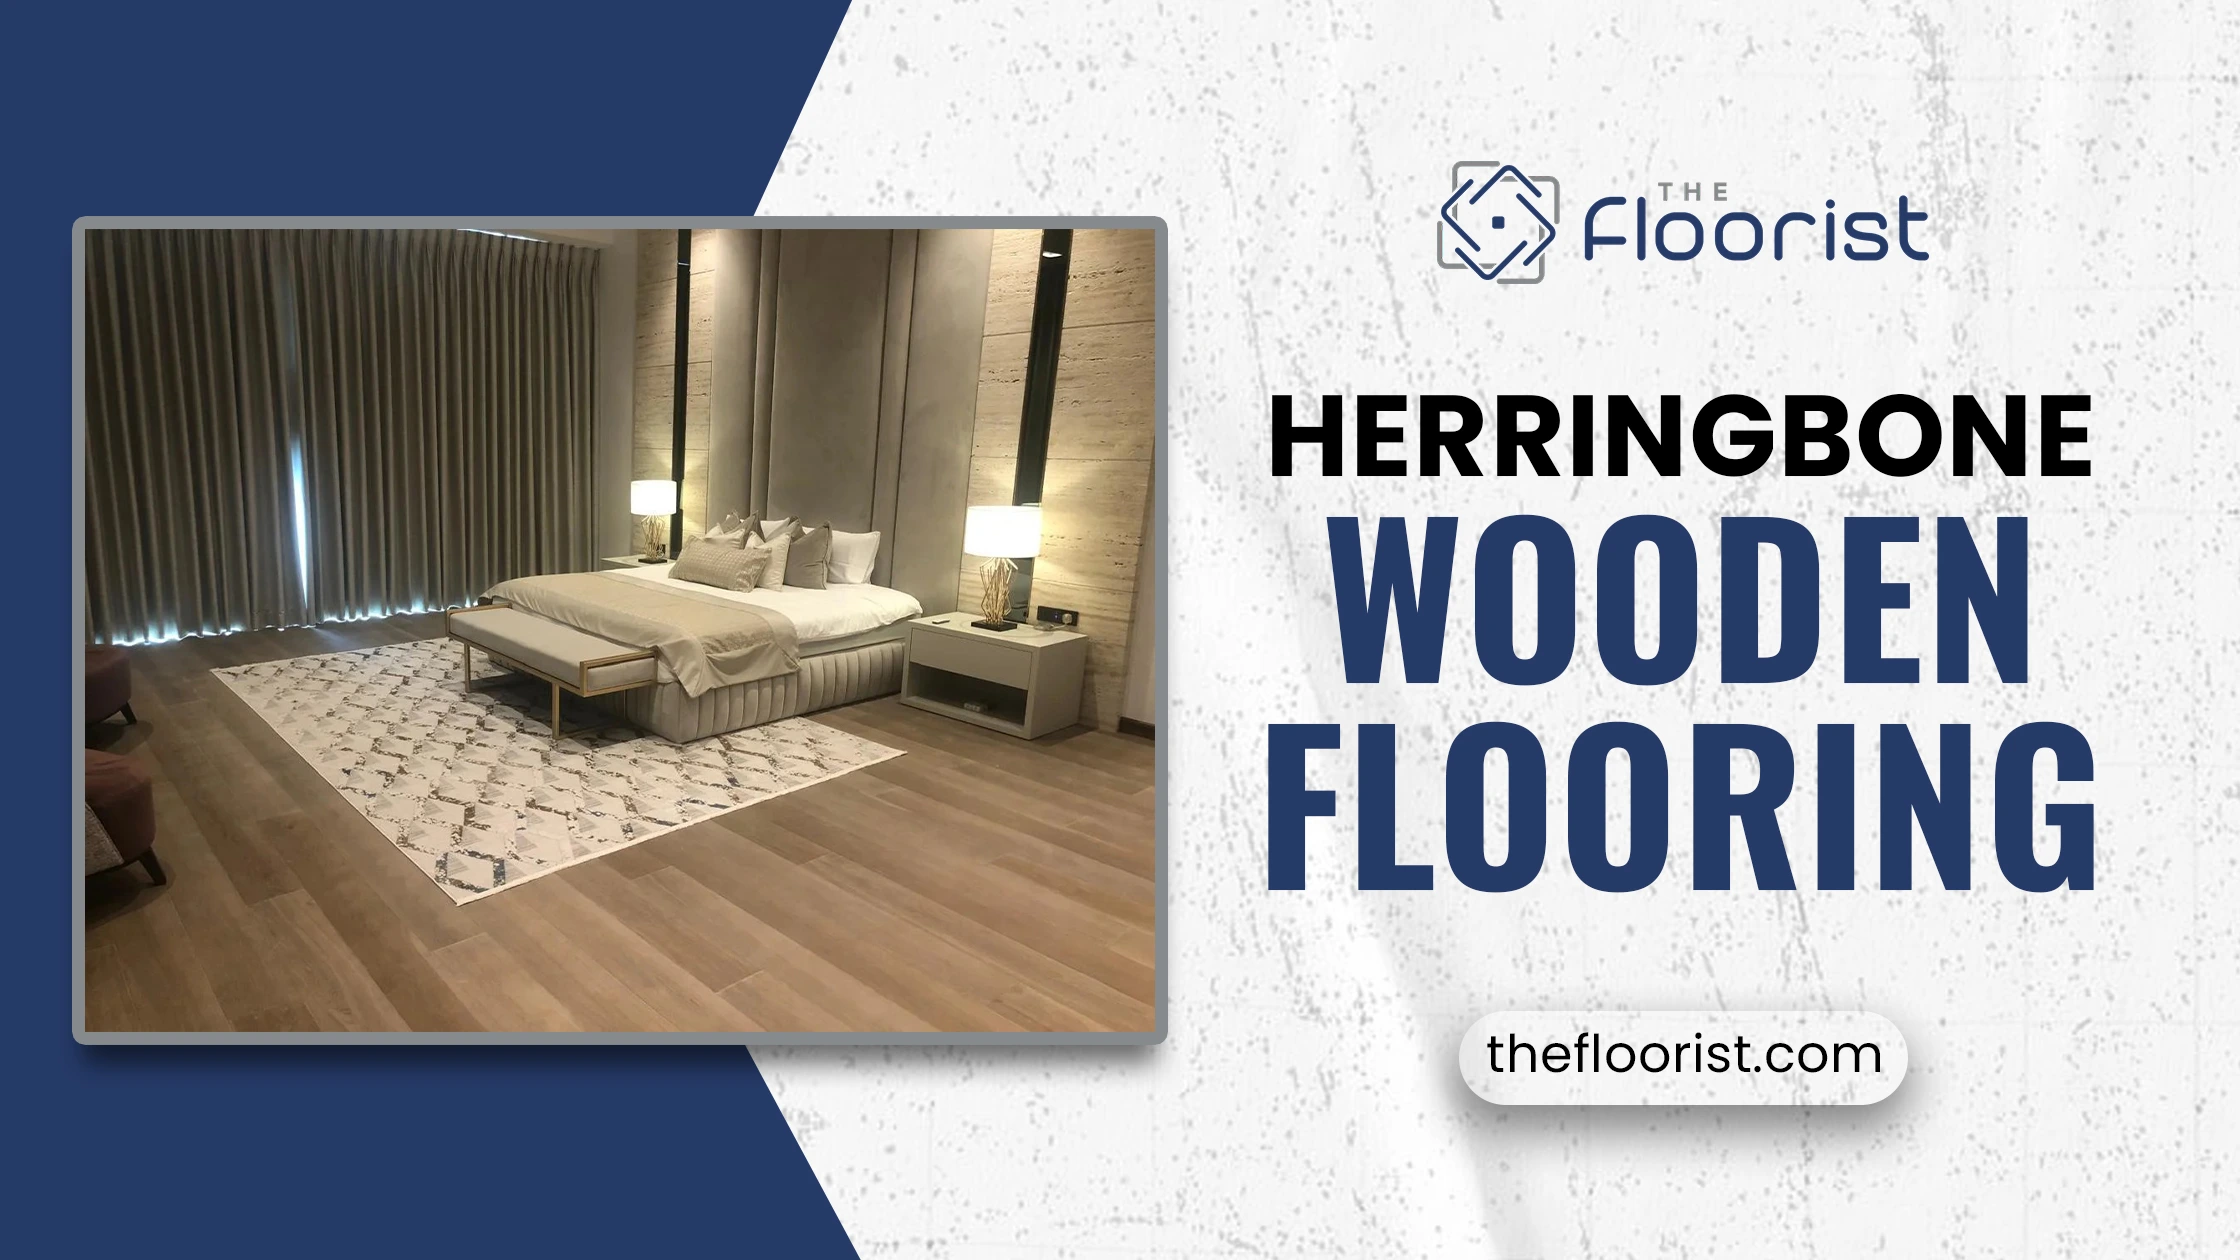
How Herringbone Wooden Flooring Adds Luxury to Every Room
November 14, 2025
No Comments
Installation & care: maximise the life of your vinyl & LVT floors
November 6, 2025
No Comments
Need Expert Flooring Advice?
Contact us today for a free consultation and let us turn your flooring vision into reality.